Yesterday I attended a twilight session at Hampton Downs racetrack.
I did three sessions out on the track at 15 minues each (22 km each)
Standard jetting except for 125 mains, plus 2 x ø20mm holes in the side of the NSR250 airbox.
0.8mm squish. 12.8cc combustion volume (to the top of the spark plug hole)
Running 95 RON and oil pump set to standard (approx 37:1 ?) on Castrol Power1 TTS fully sythetic oil.
The bike was slightly under geared for the track with standard gearing (15F 42R)
Speedo indicated approx 195 km/h at approx 12,200 rpm just before braking at the end of the straight for turn one. It was pretty difficult to take in these numbers with turn one looming :-)
Rear wheel circumference of 2010mm.
Plug chop photo below:

It actually looks slightly whiter in the photo than it does in real life, (on my computer).
I think that's about as lean as I would ever want to go.
I was typically changing gear at approx. 11,500 rpm.
Slight issue at very small throttle holding constant speed through sweepers.
[more to come]
Overall,.. extremely happy with it.
So cool to finally get my knee down on my own NSR250 again. (20 years later)
Oh, and also, the day before, I played around trying to calibrate the TPS.
But I didn't have any proper information to go by.
Calibrate TPS. <<== click here.
Perhaps someone can tell me the correct way to calibrate the TPS?


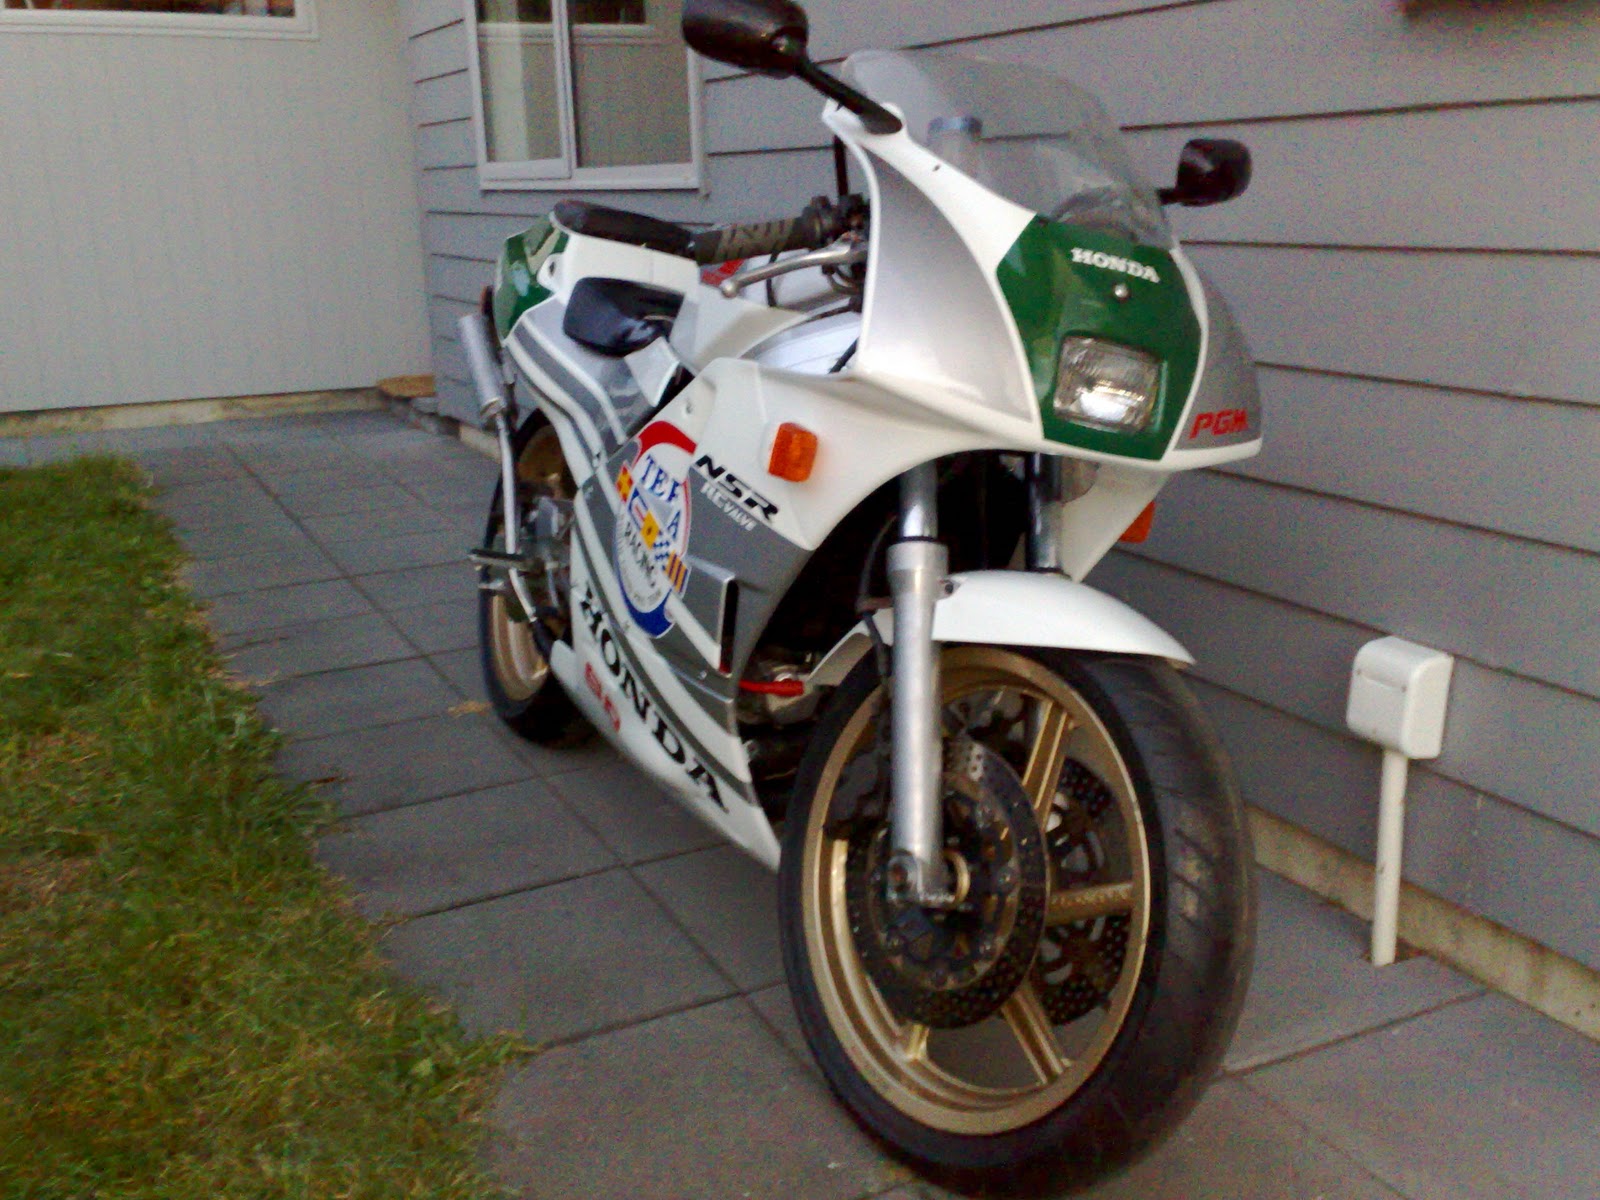
The screen is the one that came with my Chinese fairings. It doesn't really fit properly.
It distorts into a sort of "high rise" screen when forced to fit.
I ran out of time to play around with the different rear shock link plates.
I did three sessions out on the track at 15 minues each (22 km each)
Standard jetting except for 125 mains, plus 2 x ø20mm holes in the side of the NSR250 airbox.
0.8mm squish. 12.8cc combustion volume (to the top of the spark plug hole)
Running 95 RON and oil pump set to standard (approx 37:1 ?) on Castrol Power1 TTS fully sythetic oil.
The bike was slightly under geared for the track with standard gearing (15F 42R)
Speedo indicated approx 195 km/h at approx 12,200 rpm just before braking at the end of the straight for turn one. It was pretty difficult to take in these numbers with turn one looming :-)
Rear wheel circumference of 2010mm.
Plug chop photo below:

It actually looks slightly whiter in the photo than it does in real life, (on my computer).
I think that's about as lean as I would ever want to go.
I was typically changing gear at approx. 11,500 rpm.
Slight issue at very small throttle holding constant speed through sweepers.
[more to come]
Overall,.. extremely happy with it.
So cool to finally get my knee down on my own NSR250 again. (20 years later)
Oh, and also, the day before, I played around trying to calibrate the TPS.
But I didn't have any proper information to go by.
Calibrate TPS. <<== click here.
Perhaps someone can tell me the correct way to calibrate the TPS?

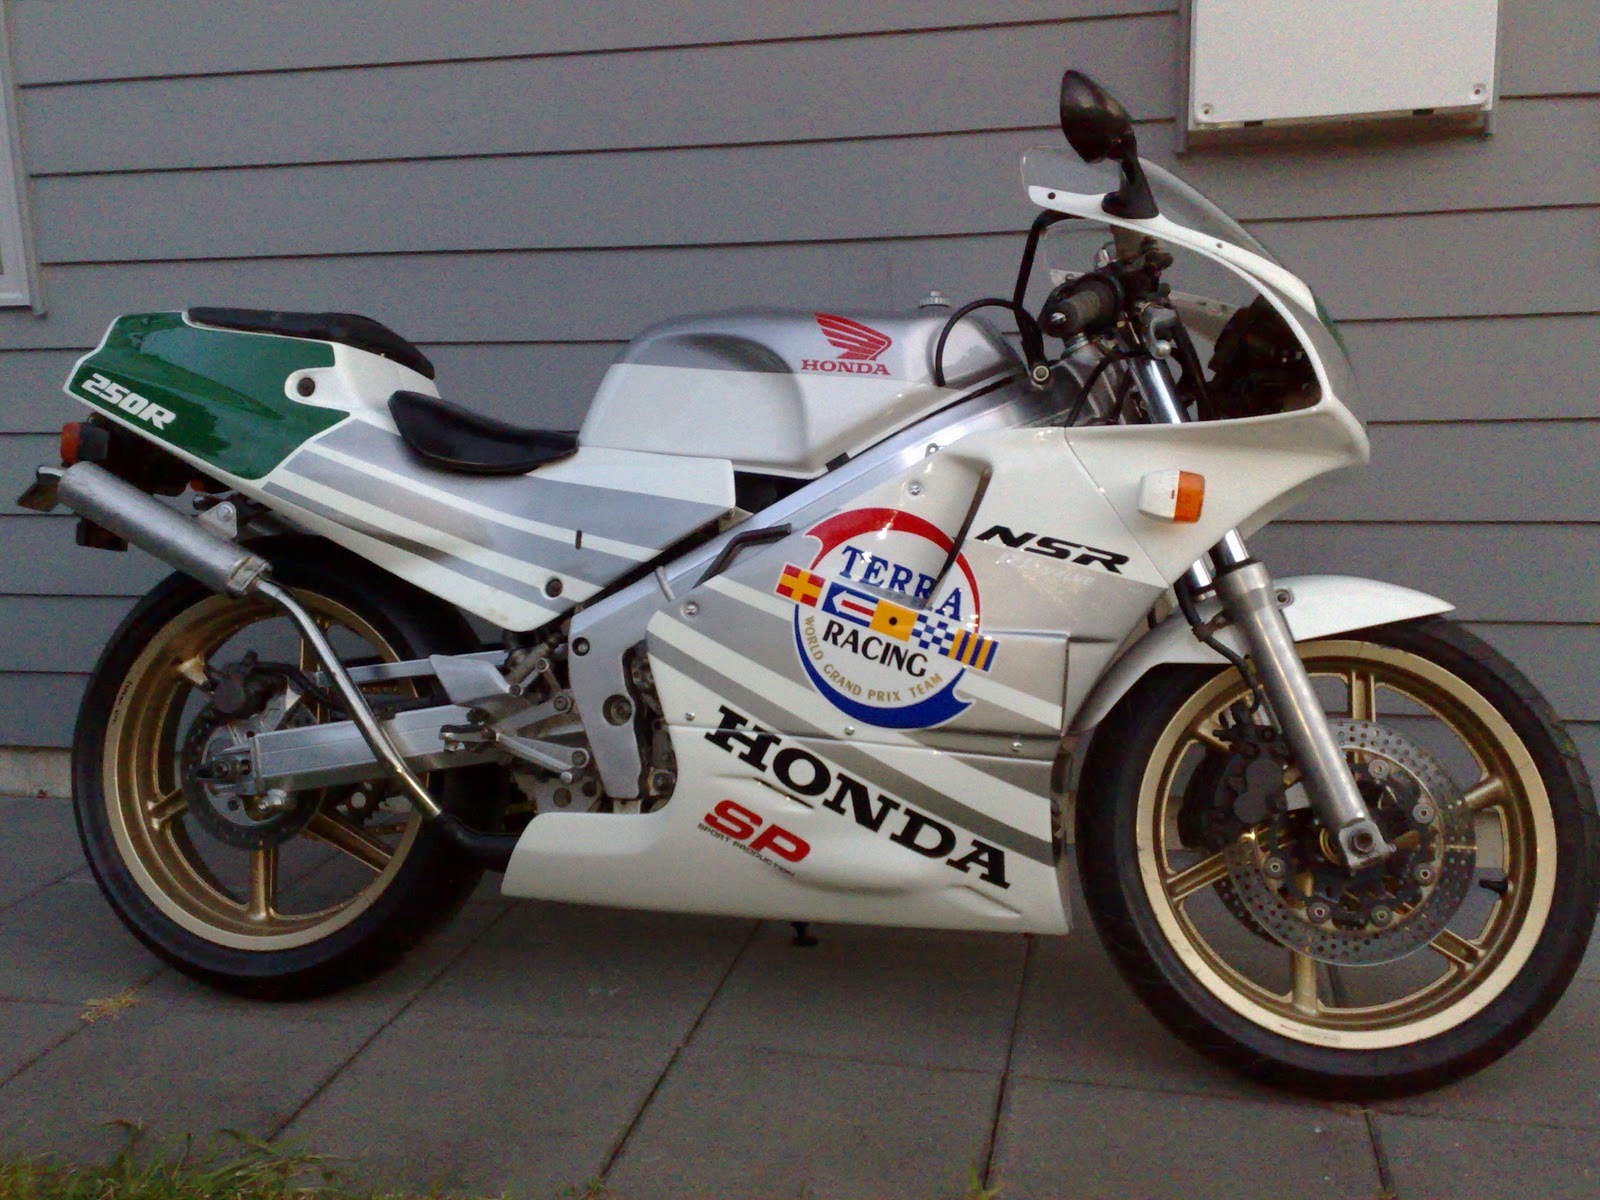
I put on the old damaged original fairings for the track day:

It distorts into a sort of "high rise" screen when forced to fit.
I ran out of time to play around with the different rear shock link plates.