Probably the only thing that I am not completely happy with is the lightening holes milled in the side of the Wossner pistons. I just don't know what effect they will have on the intake gas flow harmonics type of thing.
As you can see from the photo, they will line up with some of the intake ports.

I spent a bit of time trimming the base gaskets so that they do not stick out into the transfer ports and disrupt the flow.

I poured a very small amount of oil down the crankcase holes onto the main bearings to help give them an initial oiling. They are packed with grease from new anyway, so not too sure if I needed to pre-oil them with 2 stroke oil.

I placed a rag under the piston so that the gudgeon pin circlips could not drop down into the crankcases.

As I was fitting one if the gudgeon pin circlips it "pinged" off and appeared to get sucked in to the flywheel by magnetism. So I had to pull the flywheel off. I will just mention that I use an M8 countersunk cap screw placed partially inside the crankshaft thread hole to push against with the puller.

Just to really rub salt into the wound, it took me about 20 minutes to thread the puller into the flywheel on the left hand thread. This was because there was a smattering of extremely fine grit in the flywheel thread from being bead blasted. I had to painstakingly work the puller thread into the flywheel thread in a back and forward motion much like is commonly done when cutting threads with a tap. My patience was being tested here, but I just persevered and was careful not to get too forceful with things.
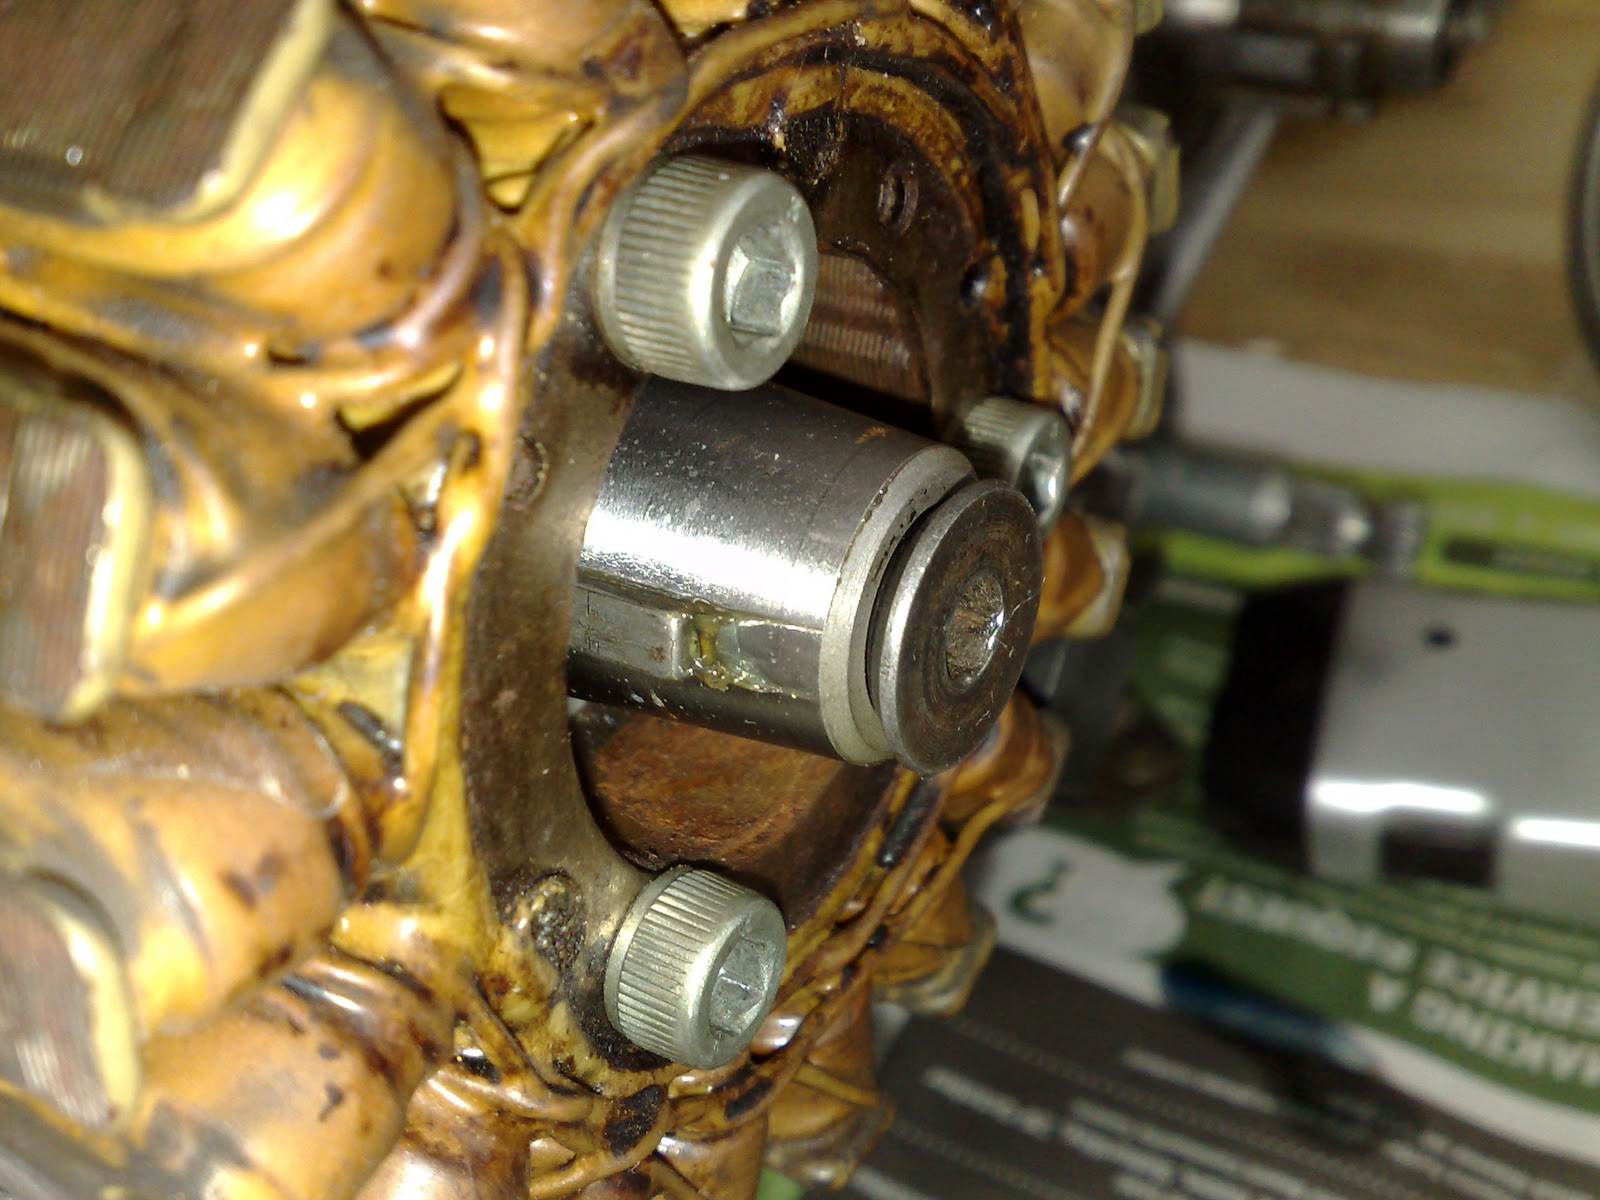
After pulling the flywheel off, there was no circlip to be found. Arrgh!! On closer inspection, the circlip was caught up on one of the ignition pickups. So I needn't have pulled the flywheel off! D'oh!
 |
| Spot the circlip |


All done! Significant milestone reached.
[edit] The barrels need to be swapped over to get the stud patterns right. See next post [/edit]


Another interesting point of note is that there appears to be 2 different types of heads for the MC18.

The 2 rear right heads (in the picture) all have 20mm deep stud hole bosses. Casting Number KV3F and KV3R (F for Front, R for Rear)
I have no idea which are newer and or better, but going off the casting numbers, and knowing that "KV3" is very common on many NSR parts, I would have to assume that the larger heads (being 5mm higher) are the later model edition with casting number KV3G. Of course this could easily be wrong.
No comments:
Post a Comment